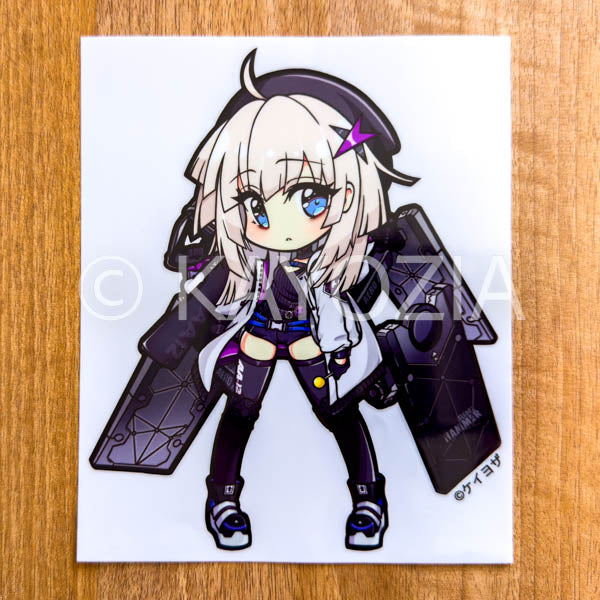
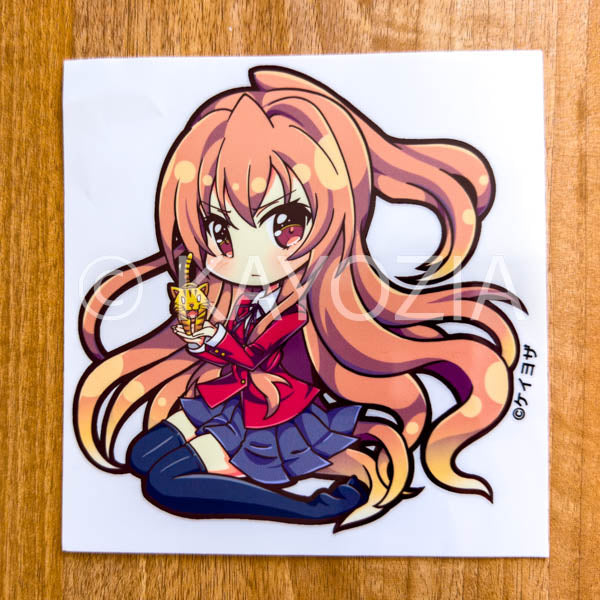
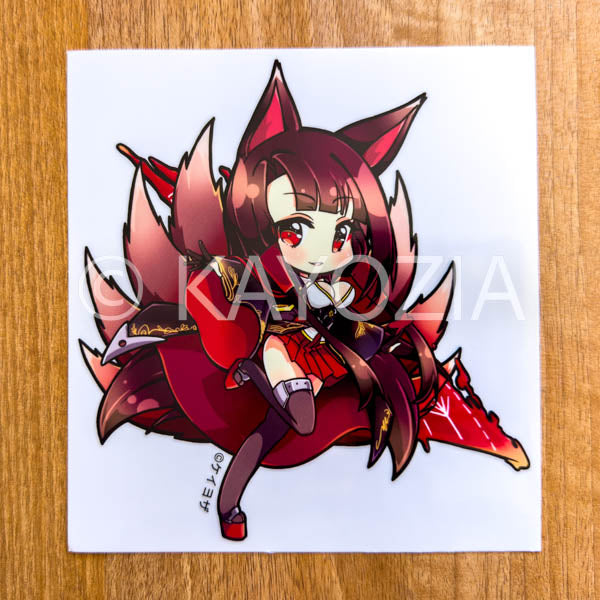
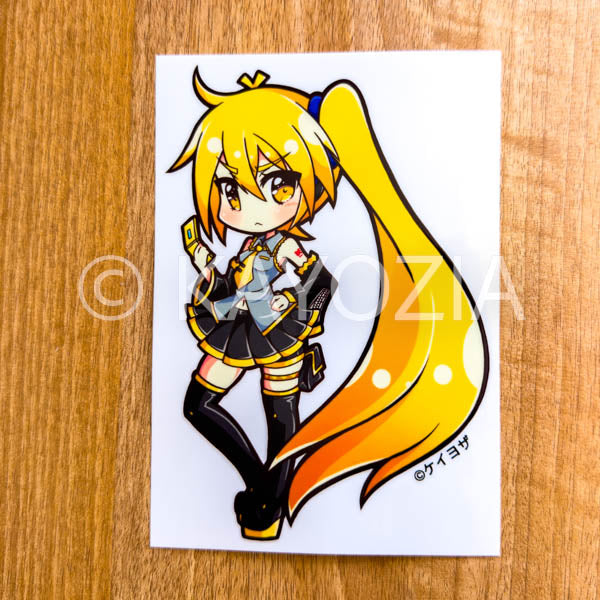
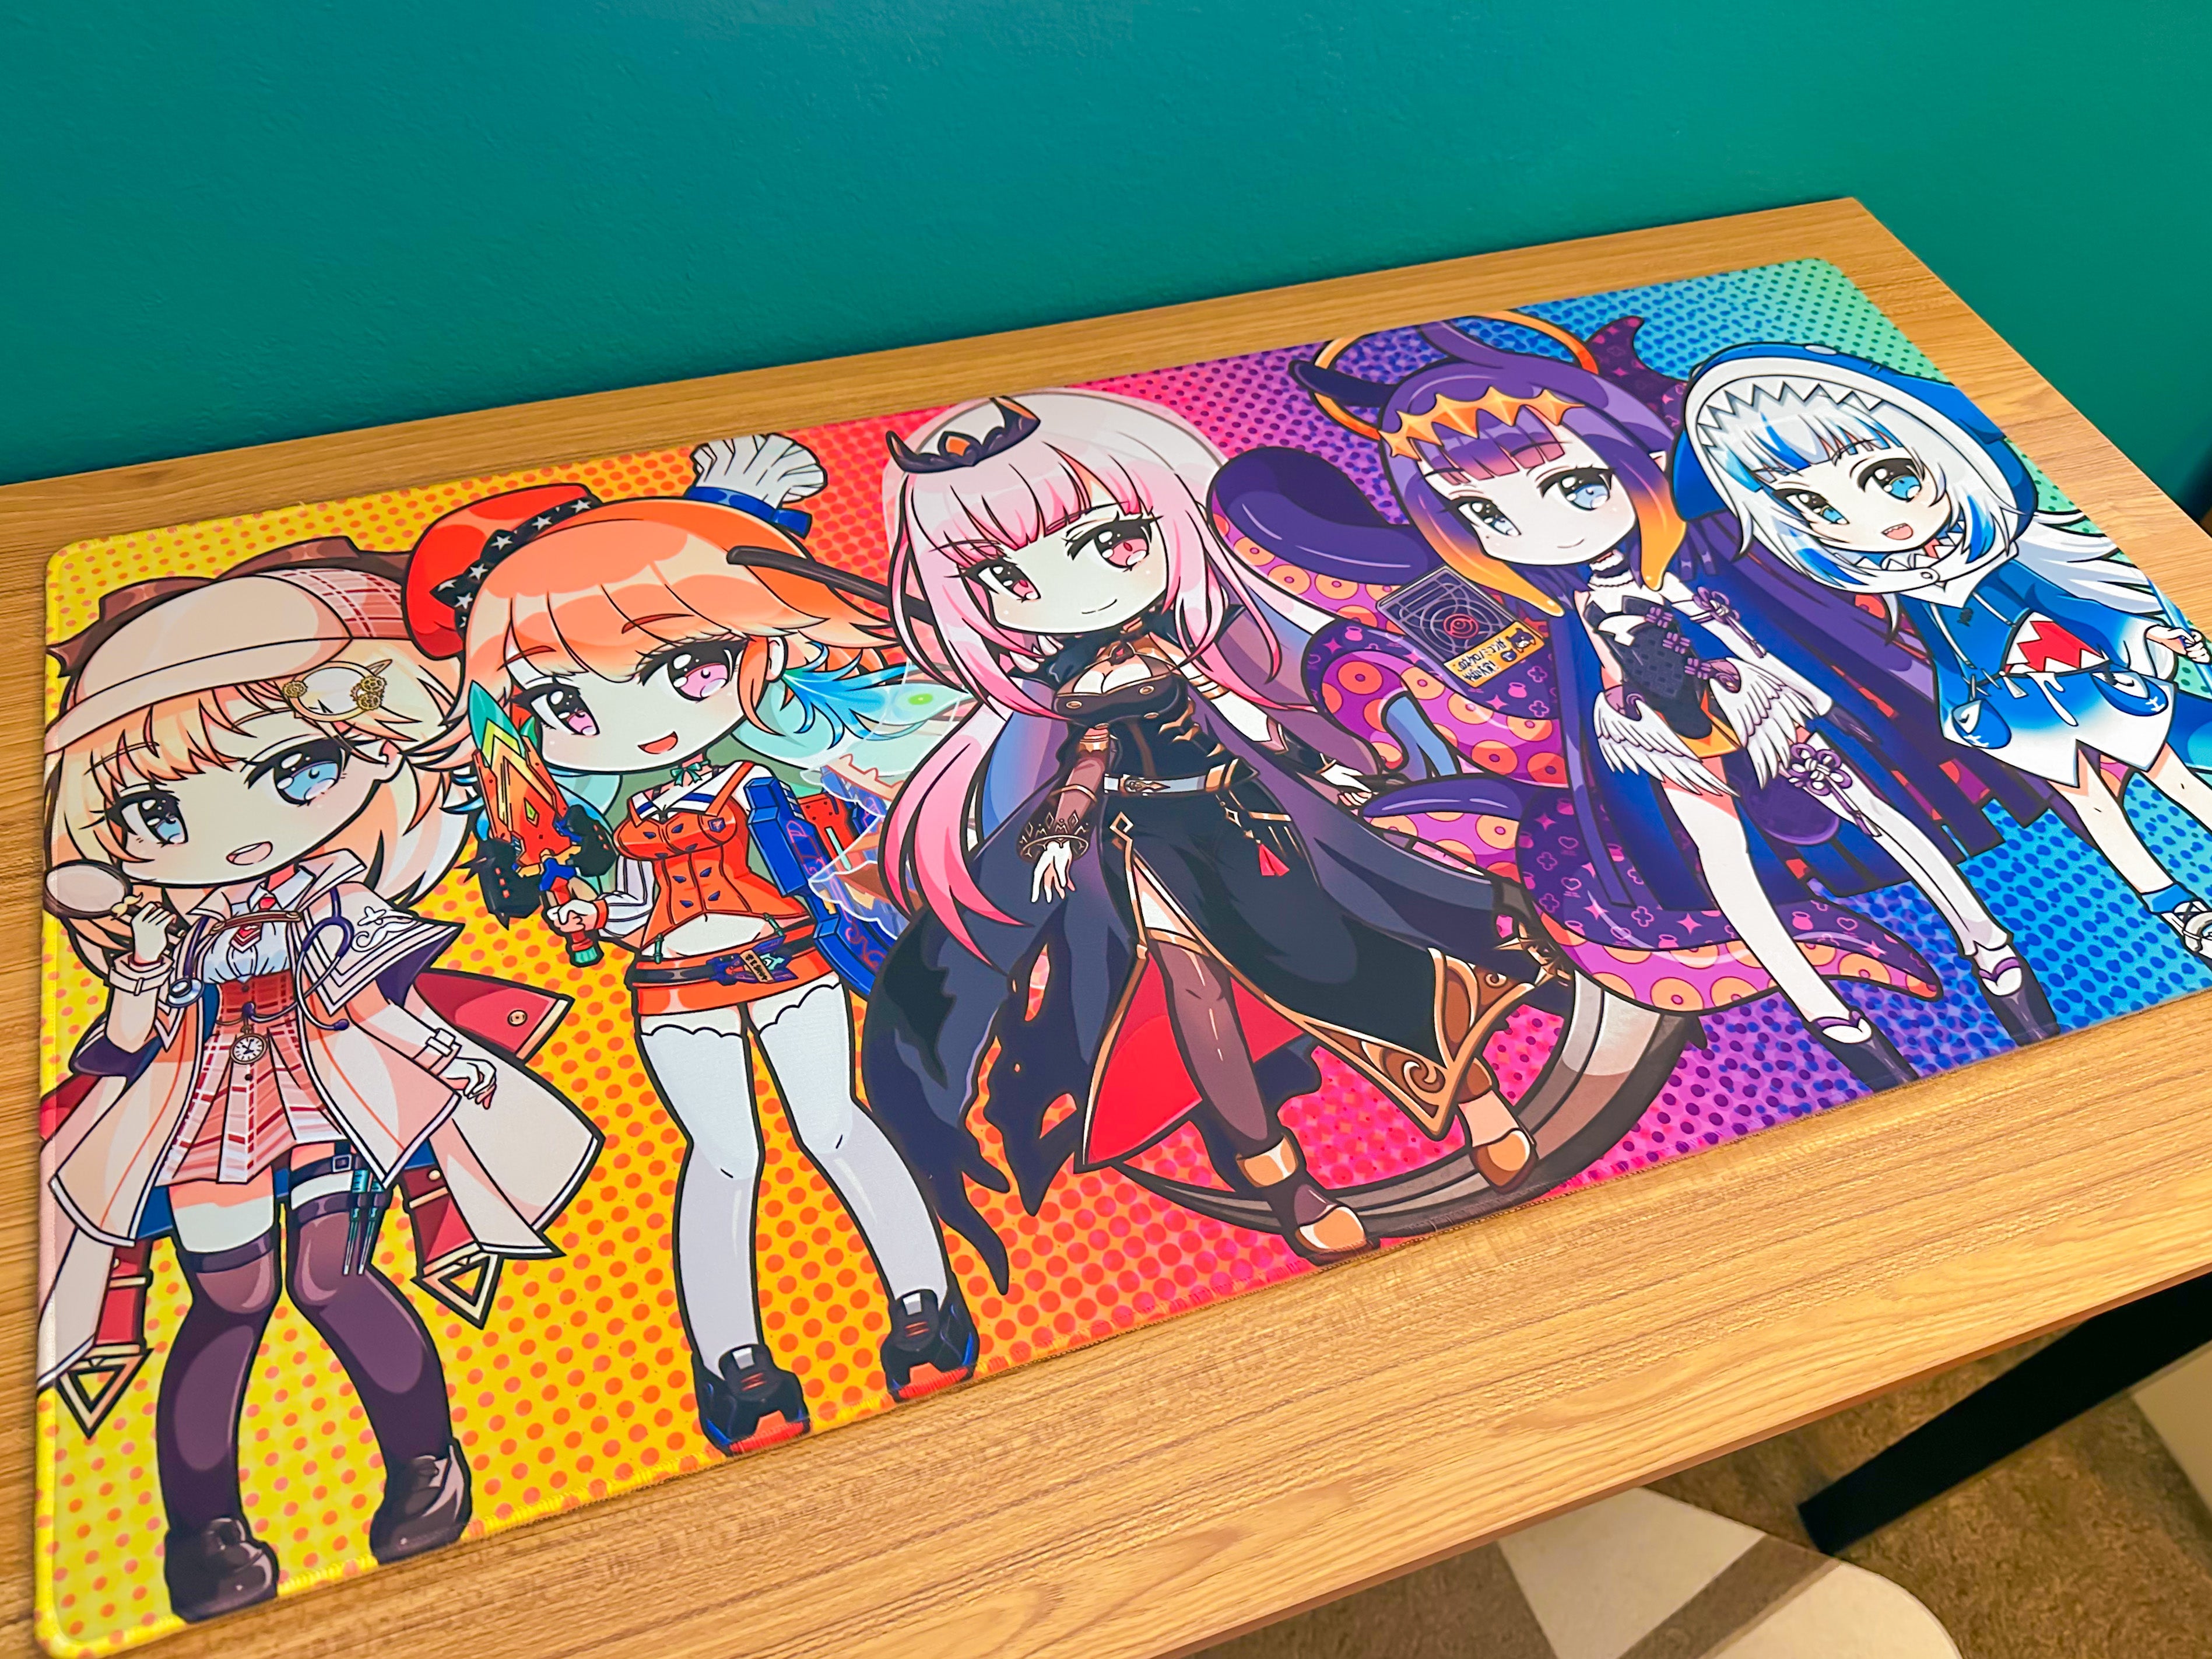
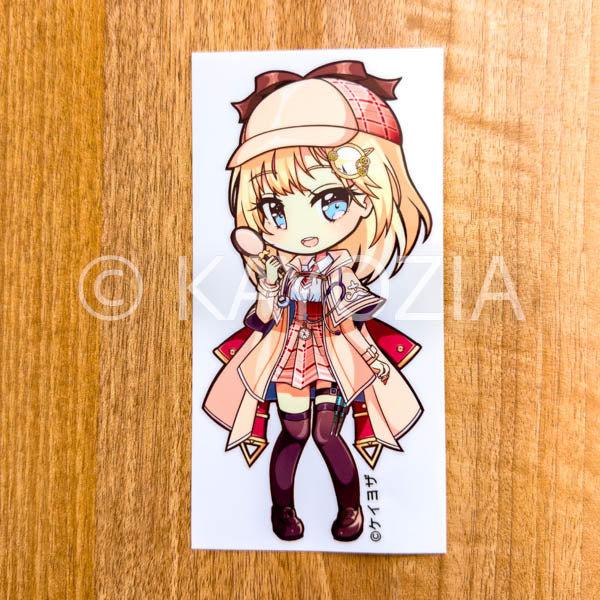
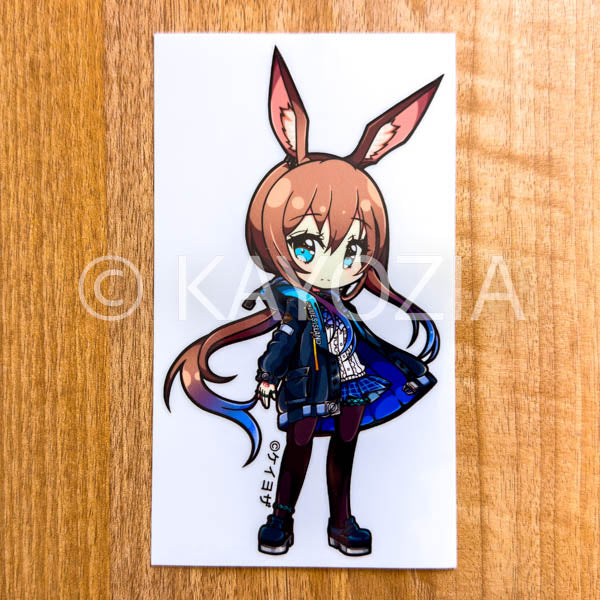
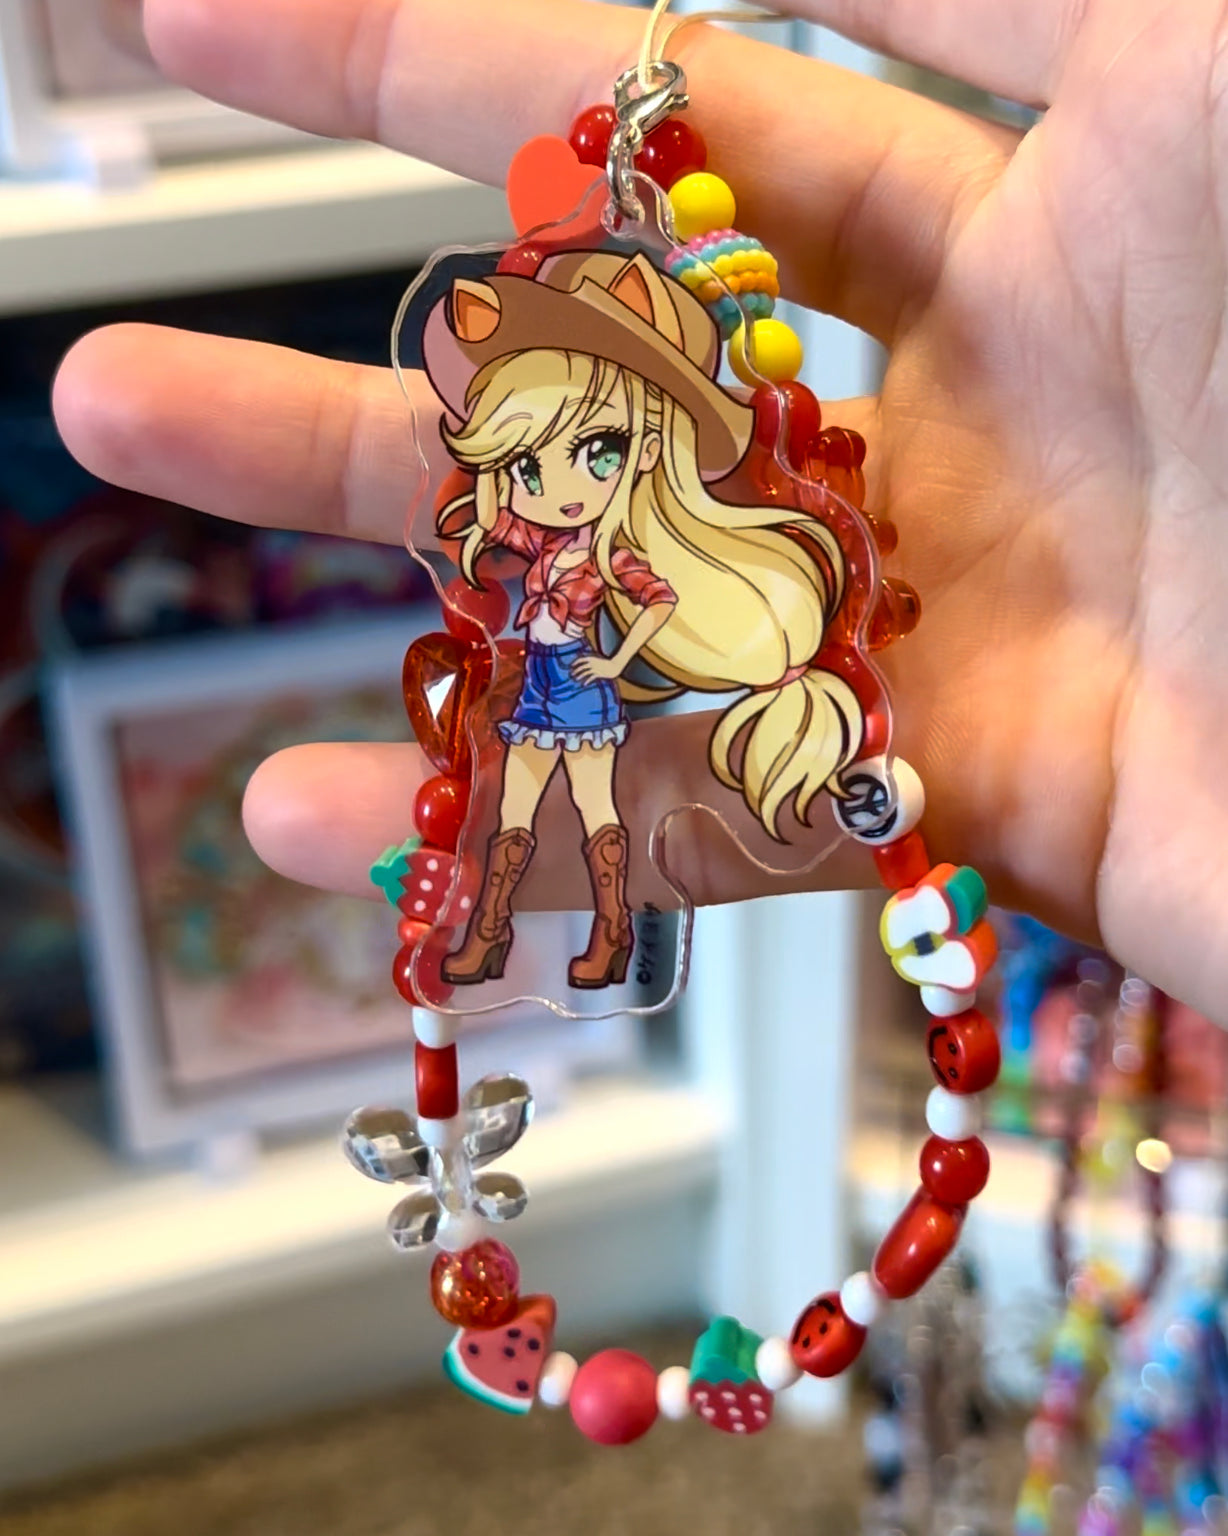
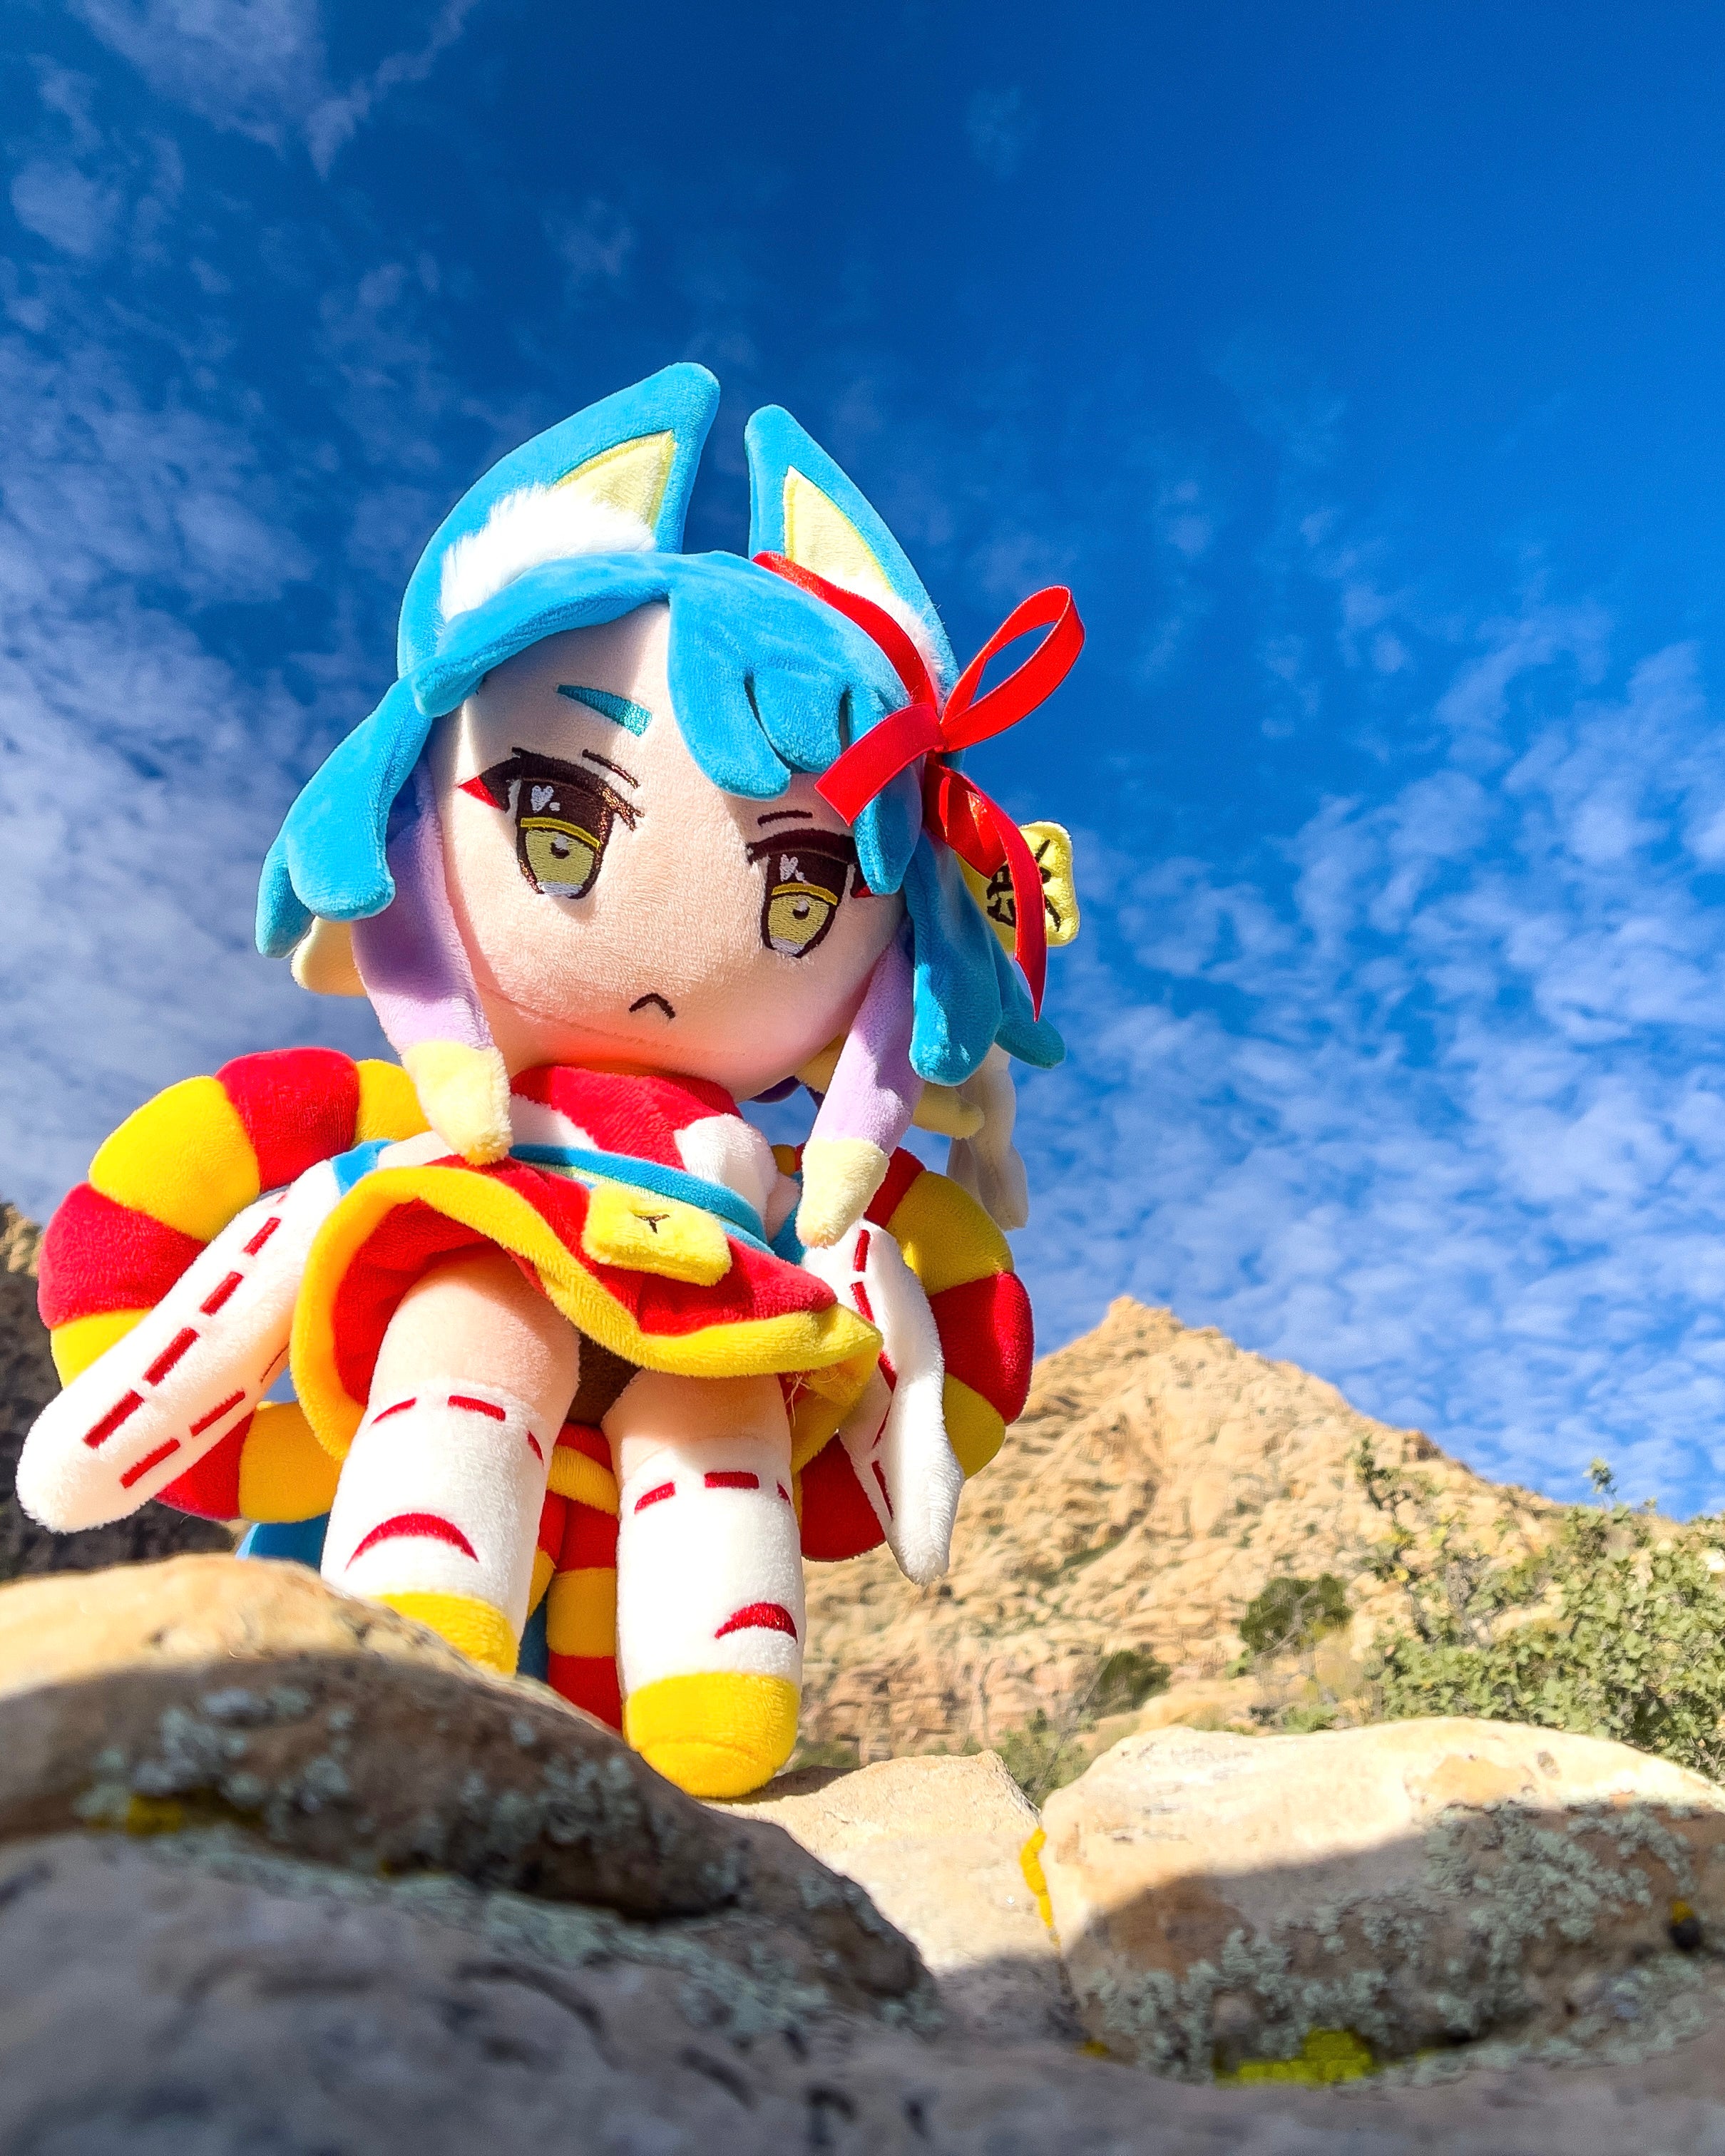
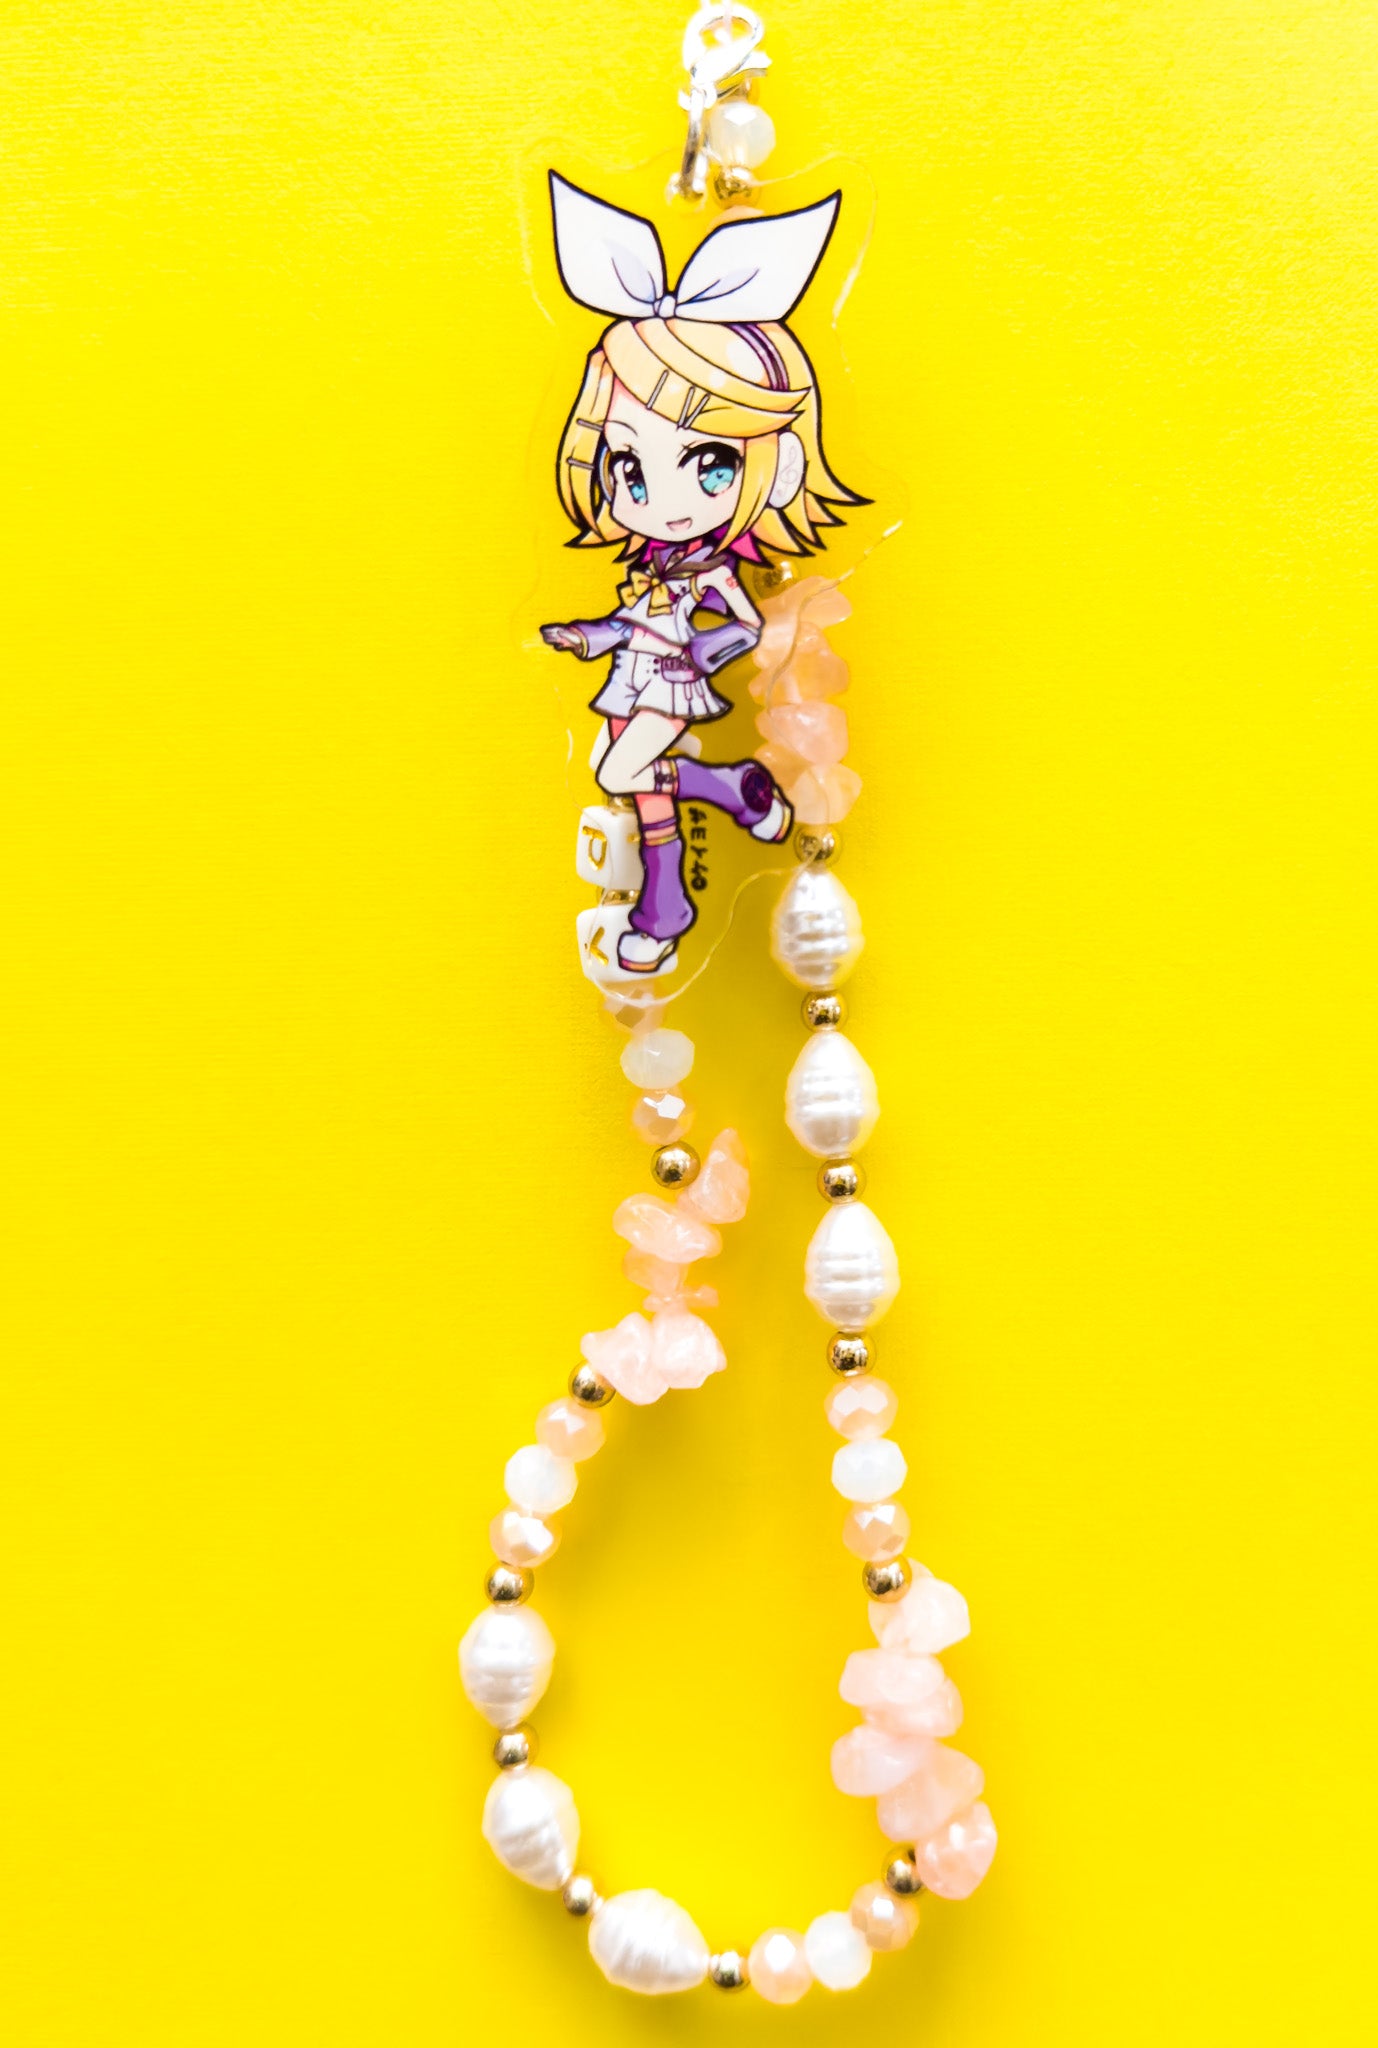
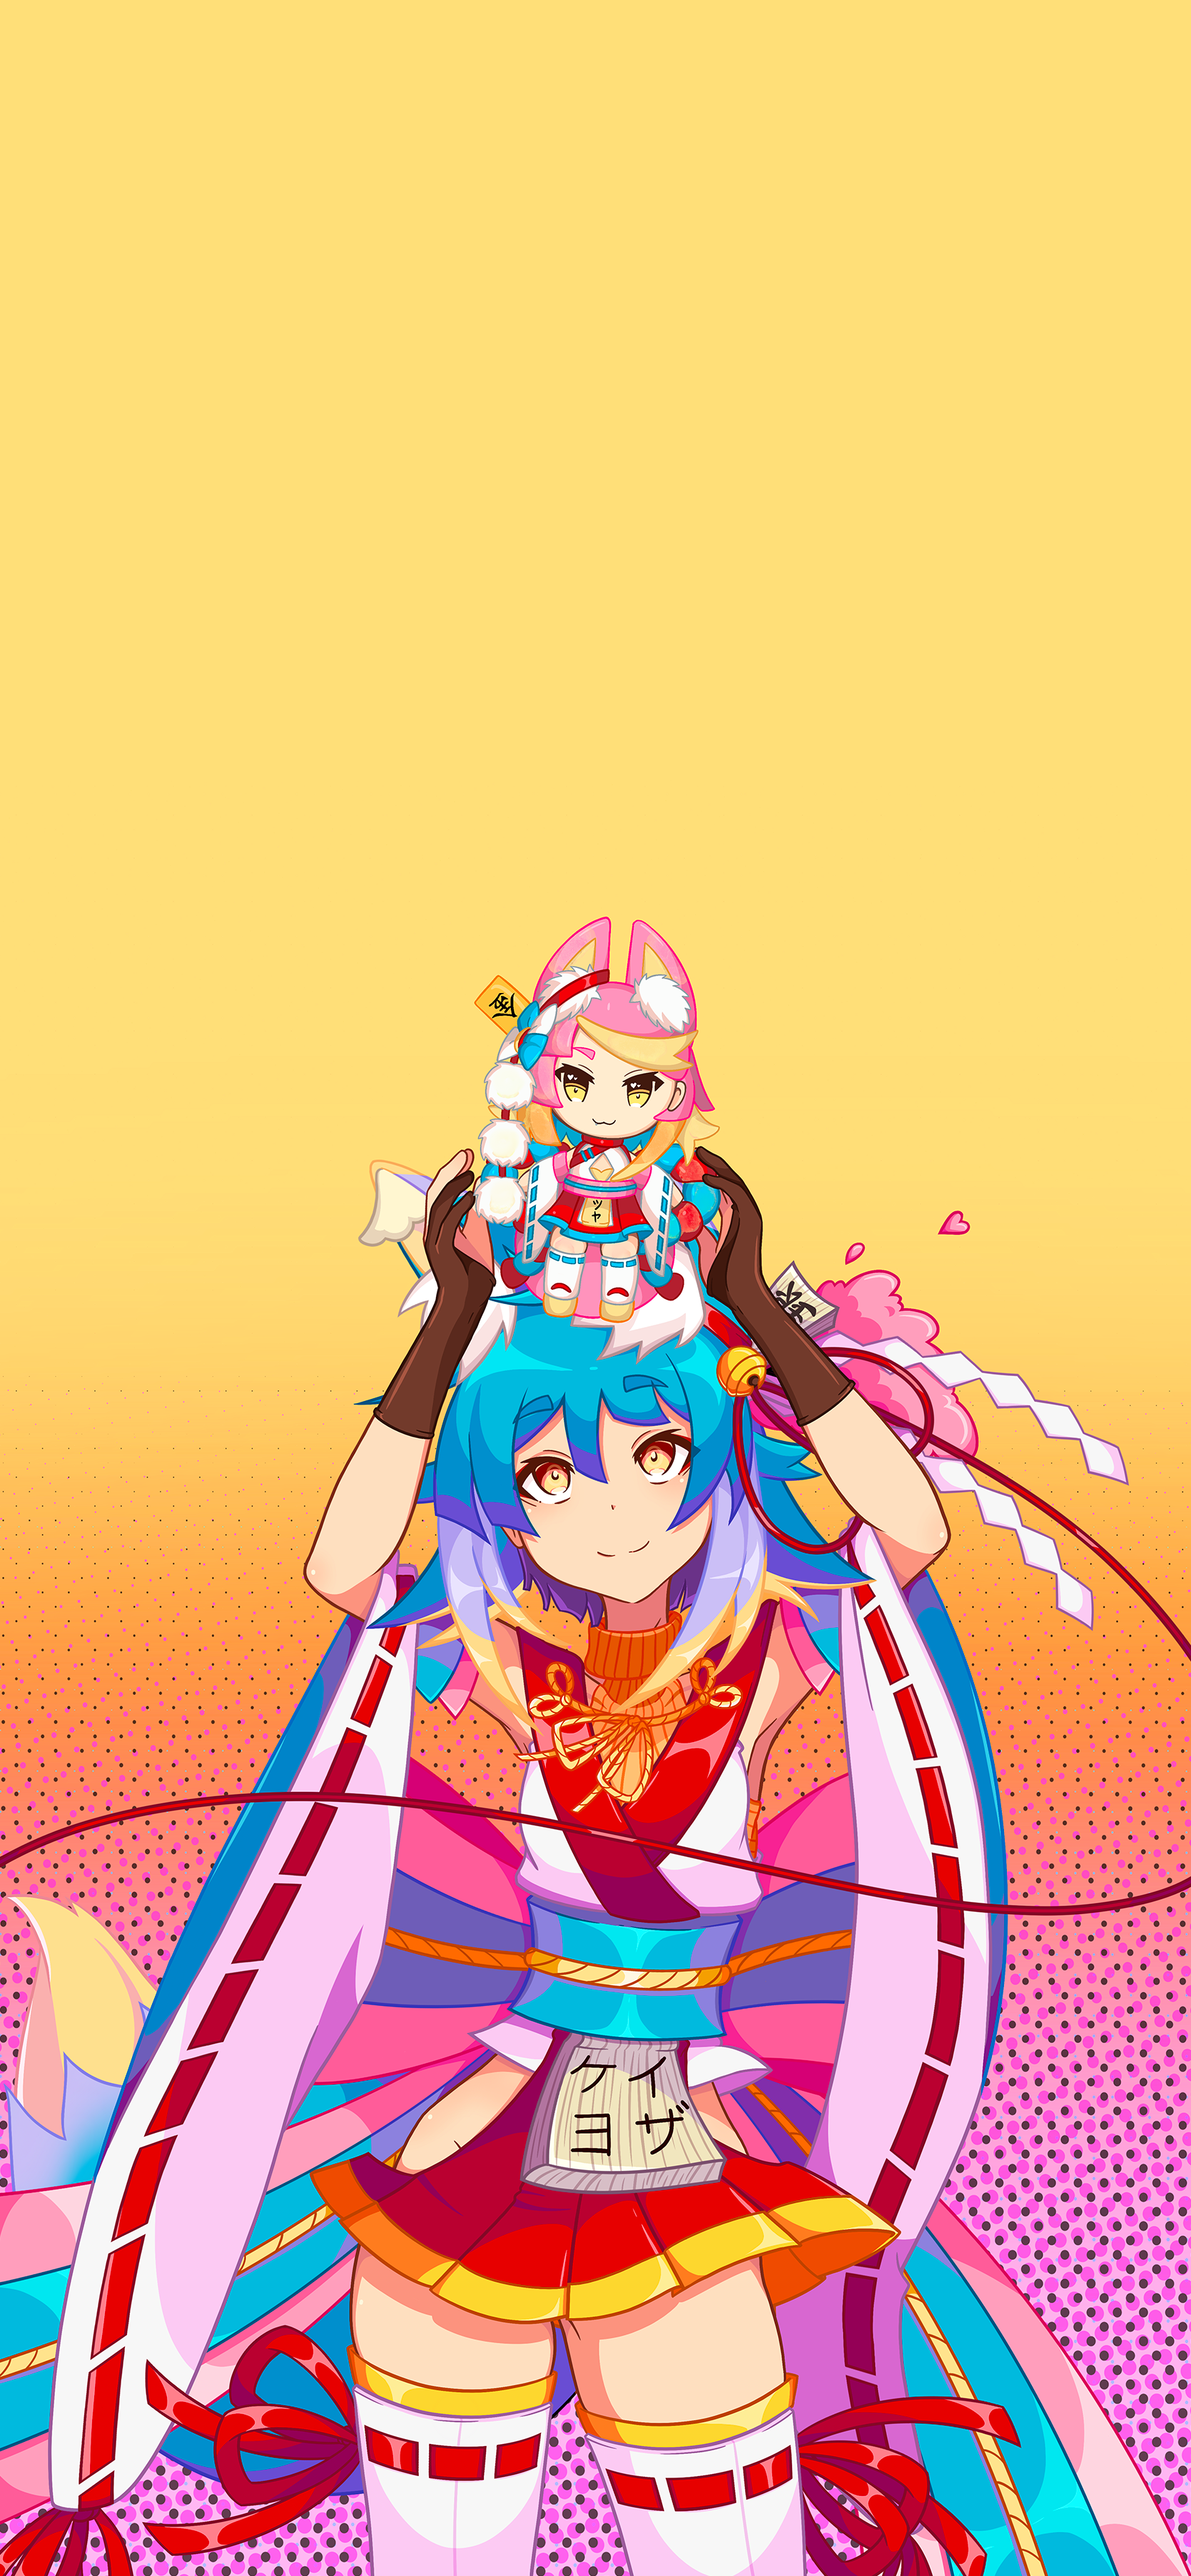
Stickers that can be transferred onto any flat surface!
Transfers stickers are water resistant, UV protected, and are printed on high quality 3D gloss material that has a long-lasting adhesion.
Although the sticker is not totally permanent, please treat it as if it is because the adhesion is VERY strong.
To apply a transfer sticker: (Average application time: 5 Minutes)
-Make sure flat surface is clean
-Peel transfer sticker from the white background
-Apply your sticker where you want it applied
-press down on the illustration so it is firmly applied onto the surface
-GENTLY and SLOWLY remove the clear plastic film from the attached surface. Sometimes the sticker will want to come off and stay attached to the film, but press the illustration again from the outside of the film to seal it onto the surface of choice and begin to remove the clear film again.
-Once the film has been removed press down on the sticker again to make sure there is no lifted up areas
-You're good to go!
Tips: More complex designs will be harder to apply, my recommendation is to cut some of the clear film areas while removing it to give a better range of motion when taking off the film.
IF the sticker must be removed, my suggestion is using a hair dryer to warm up the adhesive first and then using rubbing alcohol to remove the left over residue.
If the illustration breaks while trying to remove the clear film that is fine, just place the film back down again and press the broken piece down back with the illustration. I've actually done this a few times and after I pressed the broken piece back down again you couldn't even tell it was broken in the first place! The 'crack' or fracture disappears when its placed back down again.

